
When it comes to protecting your basement walls from moisture, applying waterproof paint is vital. You’ll want to start by evaluating the condition of your walls to identify any damage that needs repair. Choosing the right paint is just as important, as not all products offer the same level of protection. Once you’ve got that sorted, the real work begins. Let’s explore the steps to guarantee your basement stays dry and secure.
Key Takeaways
- Clean the basement walls thoroughly, removing dirt and grime, before applying any paint.
- Repair cracks and holes using appropriate sealing products for a smooth surface.
- Apply a primer coat to enhance paint adhesion and ensure durability.
- Use high-quality rollers and brushes, applying paint in sections for even coverage.
- Allow the first coat to dry completely before applying a second coat for optimal waterproofing.
Assessing the Condition of Your Basement Walls
Before you plunge into applying waterproof paint, it’s essential to assess the condition of your basement walls.
Start by checking for visible cracks or peeling paint, as these can indicate compromised wall integrity.
Next, test the moisture levels in the walls using a moisture meter. High moisture levels can lead to mold and paint failure, so it’s vital to address any underlying issues before painting.
Testing moisture levels in basement walls is crucial; high moisture can cause mold and paint failure. Address issues before proceeding.
If you find excess moisture or structural damage, consider consulting a professional.
Choosing the Right Waterproof Paint
Choosing the right waterproof paint can make all the difference in protecting your basement walls from moisture damage.
Here are four key factors to take into account:
- Paint Types: Look for specialized waterproof paints, such as acrylic or elastomeric options, designed for damp environments.
- Color Options: Choose colors that enhance your basement’s ambiance while still providing the necessary protection.
- Durability: Verify the paint can withstand humidity and temperature fluctuations.
- Ease of Application: Select a product that’s user-friendly and suitable for your skill level.
Preparing the Surface for Painting
Before you start painting, you need to get your basement walls ready.
Clean the surface thoroughly to remove any dirt and grime, then repair any cracks or holes to guarantee a smooth finish.
Finally, applying a primer coat will help the waterproof paint adhere better and provide a more durable result.
Clean the Wall Surface
Cleaning the wall surface is an essential step in preparing your basement for waterproof paint. Proper wall preparation guarantees the paint adheres effectively and lasts longer.
Here are some effective cleaning techniques to follow:
- Remove dust and debris: Use a broom or vacuum to clear the walls.
- Wash with soapy water: Mix mild detergent with water and scrub the walls gently.
- Rinse thoroughly: Use clean water to remove any soap residue.
- Dry completely: Allow the walls to air dry to prevent moisture issues.
Repair Cracks and Holes
Once you’ve thoroughly cleaned the wall surface, it’s time to address any cracks and holes that may compromise your waterproofing efforts.
Start by inspecting the walls for any visible cracks; use a suitable crack sealing product to fill them in. Make sure to follow the manufacturer’s instructions for best results.
For holes, apply a hole filling compound, ensuring it’s slightly overfilled to allow for shrinkage. Smooth it out with a putty knife, and let it cure completely.
This preparation step is vital; a well-prepared surface will help your waterproof paint adhere better and last longer.
Apply Primer Coat
Applying a primer coat is an essential step in guaranteeing your waterproof paint adheres effectively to the basement walls.
Choosing the right primer types and using proper application techniques will enhance your results. Follow these steps:
- Select a high-quality, moisture-resistant primer.
- Clean the walls thoroughly to remove dust and debris.
- Use a paintbrush for corners and a roller for larger areas to guarantee even coverage.
- Allow the primer to dry completely per manufacturer instructions before applying the waterproof paint.
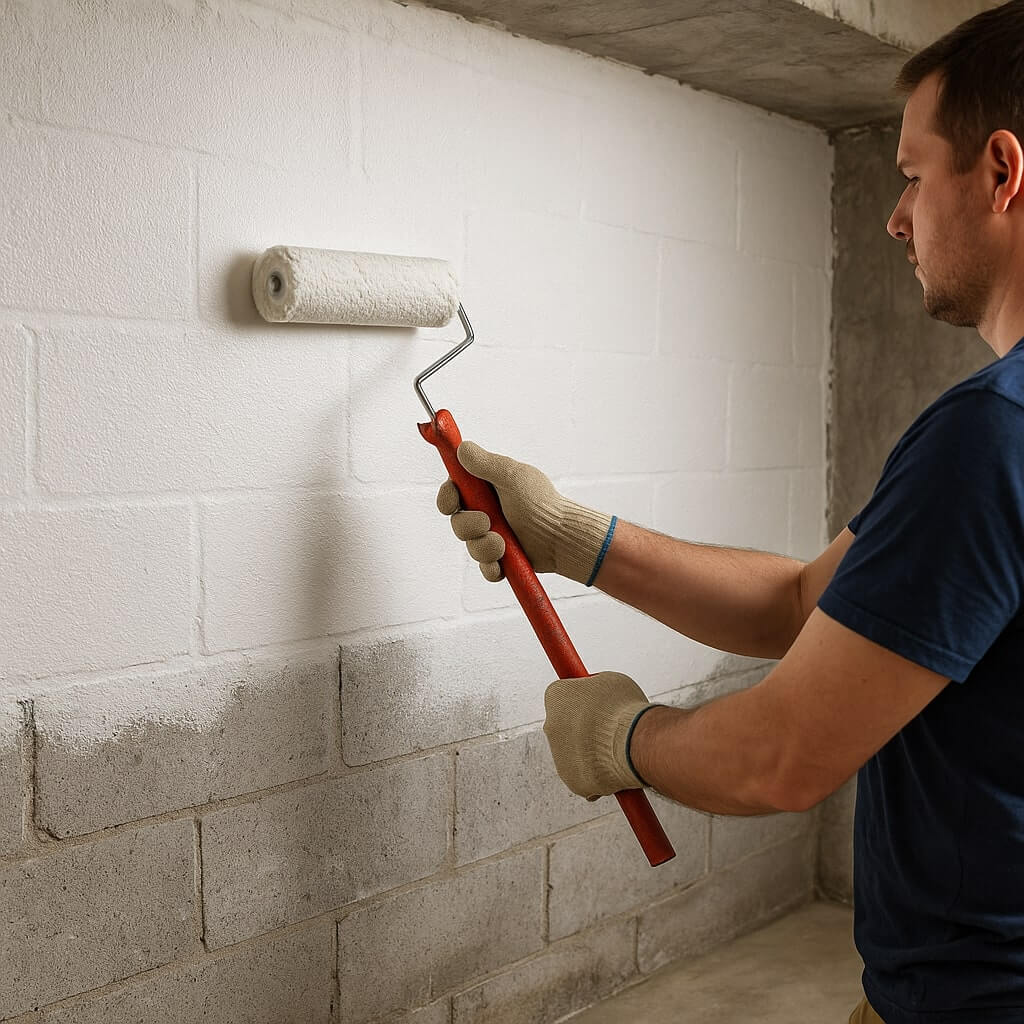
Applying the Waterproof Paint
Get ready to transform your basement walls with waterproof paint, an essential step in preventing moisture damage.
Start by choosing the right paint tools, like a high-quality roller and brush for corners. Use application techniques such as rolling the paint in sections for even coverage, and don’t forget to apply a second coat if necessary.
Choose quality paint tools for your project and apply paint in sections for a flawless, waterproof finish.
Verify the first layer is completely dry before proceeding. For hard-to-reach areas, a small brush will help you get every nook and cranny.
Work systematically, and take your time to achieve a smooth, waterproof finish that protects your basement for years to come.
Tips for Maintaining Your Painted Walls
Maintaining your painted basement walls is essential for ensuring their long-lasting effectiveness and appearance. Follow these tips to enhance paint durability and keep your walls looking fresh:
- Clean Regularly: Use gentle cleaning techniques to remove dirt and grime without damaging the paint.
- Inspect for Damage: Periodically check for peeling or cracking and address issues promptly.
- Control Humidity: Keep humidity levels low to prevent moisture buildup, which can compromise your paint.
- Repaint as Needed: Touch up areas showing wear to maintain a seamless look and protect against water infiltration.
Additional Waterproofing Solutions to Consider
While waterproof paint offers a solid first line of defense against moisture, there are additional solutions you might consider to bolster your basement’s protection.
Installing effective drainage systems helps direct water away from your foundation, reducing the risk of leaks.
You’ll also want to think about adding a sump pump, which can actively remove any water that accumulates in your basement.
These solutions work in tandem with waterproof paint, guaranteeing a dry environment.
Regularly check your drainage systems and sump pump to verify they’re functioning properly, giving you peace of mind and a truly dry basement.
Conclusion
By following these steps, you can effectively apply waterproof paint to your basement walls, ensuring a durable and protective finish. Remember to assess your walls, choose the right paint, and prepare the surface properly for the best results. With a little patience and attention to detail, you’ll enjoy a dry and comfortable basement for years to come. Don’t forget to regularly check your painted walls and explore additional waterproofing options to keep moisture at bay!